How to Make Tutorial Videos with AI (2026)
Hi there, I’m Dora! I used to dread tutorial videos. Not because I didn't know the content—because the gap between "I know this" and "this is a watchable video" felt enormous. Record, re-record, trim the awkward silences, fix the audio, add captions, realize the captions are wrong, fix those too. By the time I was done, the tutorial felt stale and I felt exhausted.
Then I started rebuilding my workflow with AI tools—one step at a time. Not all at once, and not with some magic all-in-one platform. I tested six tools across 30 videos over two months. Some were genuinely useful. A few were a complete waste of time.
This breakdown covers what actually moved the needle, and what format choices matter for each platform you're posting on.
What Makes a Good Tutorial Video?
Before we talk about AI, let's get clear on what you're actually trying to make. A good tutorial video isn't just "video where someone explains something." It's four things working together:
Clear structure. Viewers need to know where they are in the process at all times. If someone pauses mid-video to re-watch a step, that's fine—but if they pause because they're lost, you've lost them for good.
Clean audio. This is the one most creators underestimate. Bad visuals are annoying. Bad audio makes people click away in under 10 seconds. I've tested this personally—uploaded the same tutorial with two different audio tracks. The one with background hum got half the watch time.
Accurate captions. Research consistently shows that captions improve comprehension and retention for all viewers, not just those watching on mute. According to Kapwing's analysis of captioning behavior, 80% of viewers are more likely to watch a video to completion when captions are present. That number still surprises me every time I see it.
Right length for the platform. A 12-minute tutorial that belongs on YouTube will bomb as a Reel. More on this in the platform section below.
Step-by-Step: How to Make a Tutorial Video with AI
Step 1 — Plan Your Script or Outline
Don't wing it. Even a rough bullet-point outline will save you three re-records later.
For tutorials, I use a simple structure: hook → problem → steps → result. That's it. The hook is the one sentence that tells the viewer why they should watch. The problem is what they're trying to solve. The steps are the actual tutorial. The result is what they'll be able to do when it's over.
AI tools like ChatGPT or Claude are legitimately useful here—not to write the script for you, but to pressure-test your outline. Paste in your bullets and ask: "Where would someone get confused?" You'll catch gaps before you start recording.
Step 2 — Record Screen or Footage
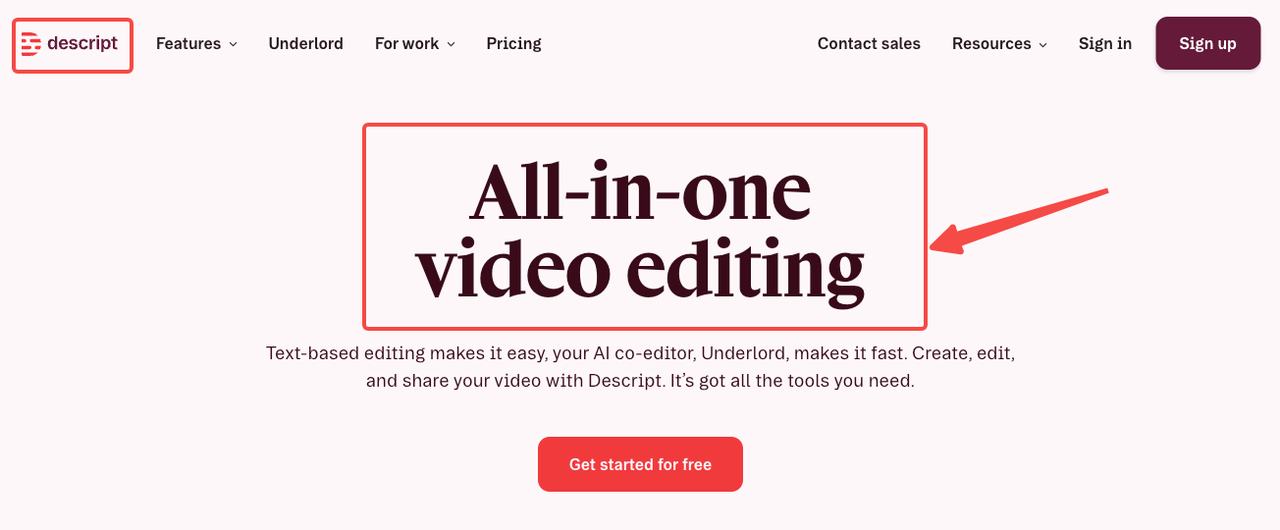
For screen-based tutorials, Descript's screen recording feature is the one I keep coming back to. It captures screen and audio simultaneously and drops everything straight into the timeline for editing. No file juggling, no format conversion headaches.
If you're recording yourself on camera, the main thing to nail is lighting and background—not because aesthetics matter that much, but because AI cleanup tools work significantly better on clean source footage. Trying to fix a cluttered, poorly lit shot after the fact is a losing battle.
Step 3 — Add AI Voiceover or Clean Up Audio
Here's where a lot of creators waste time: re-recording full sections because they stumbled over two sentences.
Descript's Overdub and Studio Sound tools let you fix specific words or sentences by just typing—the AI generates audio in your voice. Studio Sound removes background noise and enhances voice quality in one click. I used it on a recording I did next to an open window and it genuinely sounded like I'd been in a studio. I was skeptical about this claim for a long time—then I heard the before/after.
If you prefer not to record your own voice at all, Descript also offers a library of stock AI voices. Worth considering for faceless tutorial channels.
Step 4 — Auto-Generate and Edit Captions
This step used to take me 25–30 minutes per video. Now it takes under five.
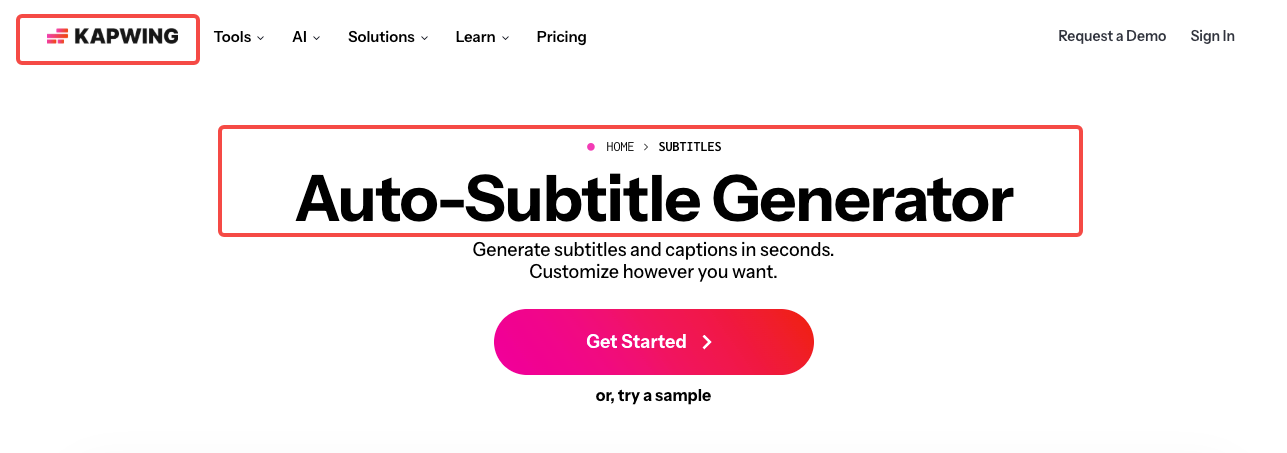
Kapwing's auto-subtitle generator handles the transcription, lets you edit directly in the interface, and exports as SRT for platform upload or hardcoded into the video. The accuracy is solid for clear speech—technical jargon is where it occasionally slips, so that's the section to proofread carefully.
One thing I learned the hard way: don't skip proofreading. A wrong caption on a step-by-step tutorial ("press Enter" becoming "press Ender") creates genuine confusion. Takes two minutes to check, saves you a comment section full of questions.
Step 5 — Trim, Cut, and Add Text Overlays
Descript's text-based editing is the feature that still feels slightly absurd to me—you delete text in the transcript, and the corresponding footage disappears from the timeline. It's editing video by editing a document. Once it clicks, it's fast.
For text overlays and visual annotations—arrows, callouts, step numbers—Kapwing's editor handles these well without requiring you to learn a full NLE. For more complex motion graphics, you'll need something like CapCut or DaVinci Resolve, but for most tutorial formats, simple text overlays do the job.
Step 6 — Export for Your Platform
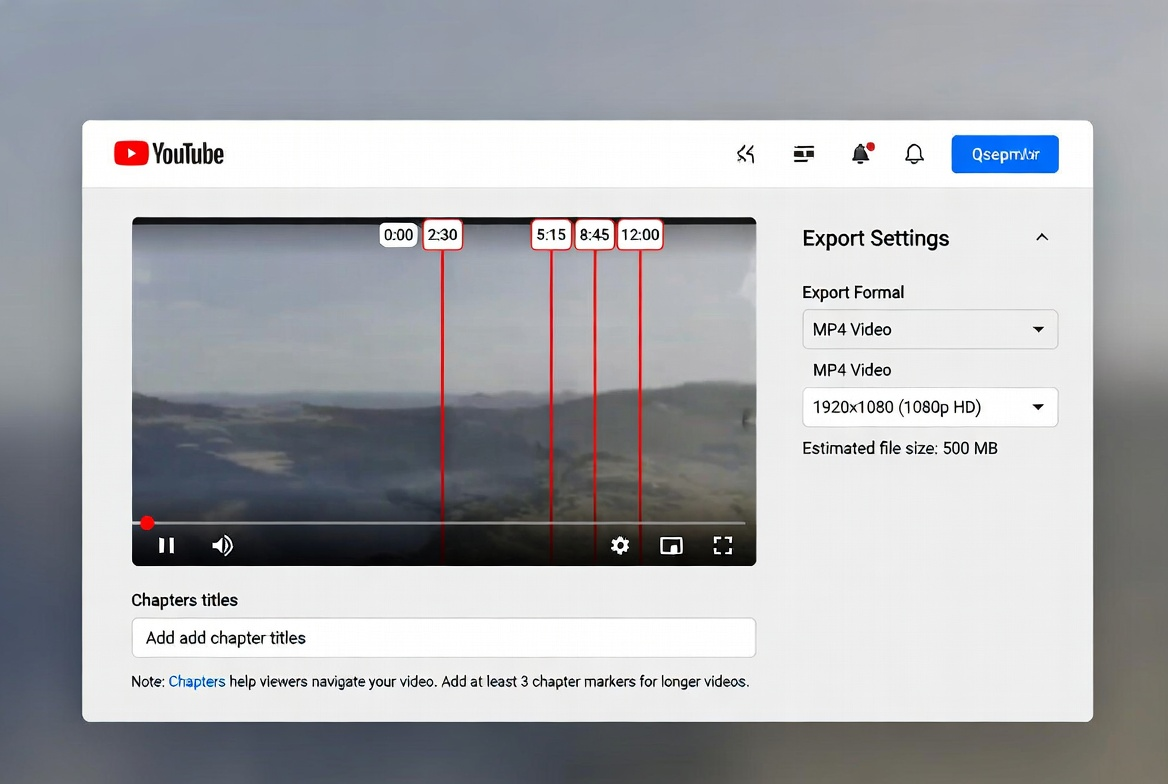
Export specs matter more than most people realize. Wrong aspect ratio, wrong resolution, and your video either looks wrong or gets recategorized by the platform algorithm.
Quick reference:
YouTube long-form: 1920×1080, 16:9, MP4
YouTube Shorts: 1080×1920, 9:16, under 3 minutes
TikTok / Reels: 1080×1920, 9:16, 60–90 seconds for tutorials
Best AI Tools for Each Step
Step | Tool | Free Tier | Best For |
Script planning | Claude / ChatGPT | Yes | Outline review, gap-finding |
Screen recording + editing | Yes (limited) | Transcript-based editing, audio cleanup | |
AI voiceover | Descript Overdub | Limited | Voice cloning, mistake fixes |
Auto captions | Yes | Subtitle generation + styling | |
Text overlays + trim | Kapwing / CapCut | Yes | Social-ready exports |
AI video generation | Free test video | Avatar-based tutorials, no-face content |
Zapier's updated 2026 tool roundup notes that the best AI video tools now reduce production time from script to final export by a significant margin—but the key word is "workflow." Tools don't save time if you're switching between six platforms and reformatting files at every step. Pick two or three and stay in them.

Tutorial Video Tips for Short-Form Platforms
YouTube (Full-Length)
For tutorials on YouTube, 5–15 minutes is the functional range for most educational content, according to platform video length best practices for 2026. Longer is fine if the content genuinely requires it—but padding kills retention.
Use chapters. YouTube's chapter feature is underused for tutorials and it's one of the best tools you have. Viewers who can jump to "Step 3" without scrubbing will stay longer.
YouTube Shorts
Shorts now support up to 3 minutes, but data from multiple 2026 analyses shows the performance sweet spot is 20–45 seconds. For tutorial content specifically, 35–60 seconds works well—enough to actually teach one thing, short enough to hold completion rate.
One-tip-per-Short is the format that consistently outperforms the "here are five things" approach for this length.
TikTok / Reels (60–90s Tutorials)
The hook must land in the first two seconds. Not three. Not five. Two. TikTok's scroll behavior is aggressive, and tutorial content especially suffers from slow openings because it often feels like "school content" that people actively avoid unless immediately engaged.
Start with the result, then show how. "Here's what the finished project looks like → now let's build it." That reversal alone changed my completion rates noticeably when I tested it.
Common Mistakes and How to Avoid Them
Bad audio quality. The single most common issue and the easiest to fix. Record in a quiet space, use a decent microphone (even a $30 lavalier makes a difference), and run Descript's Studio Sound on everything before export. Non-negotiable.
Captions that drift out of sync. This happens when you do heavy editing after captions are generated. Generate captions last, or regenerate after major cuts. Drifted captions on a tutorial look unprofessional and confuse viewers following along.
Openings that are too slow. "Hey everyone, welcome back, today we're going to be talking about..." is four seconds of nothing. Cut it. Start with the tutorial. Your channel intro, if you want one, belongs at the end.
No captions at all. With tools like Kapwing making this a five-minute step, there's genuinely no excuse in 2026. Captions improve watch time, accessibility, and SEO indexing on YouTube simultaneously.
FAQ
Q: What is the easiest way to make a tutorial video for free?
Record your screen with Descript (free tier), use its built-in transcript editing to trim, then add auto-captions with Kapwing's free plan. You can export a complete, captioned tutorial without paying anything—though both tools have minute limits on free accounts, so factor that in for longer content.
Q: Do I need to show my face in a tutorial video?
No. Faceless tutorials perform well on YouTube and TikTok, especially for software or screen-based tutorials. Tools like Synthesia let you use AI avatars if you want a "presenter" on screen without recording yourself. Screen-only with voiceover is often more watchable than a face-cam that's poorly lit or awkwardly framed.
Q: How long should a tutorial video be?
Depends entirely on the platform and the complexity of what you're teaching. For YouTube long-form, 5–15 minutes covers most tutorials. For Shorts, TikTok, and Reels, aim for 35–90 seconds and teach exactly one thing. If your tutorial needs more time than the platform format allows, split it into a series.
Q: Can AI generate a voiceover that sounds natural?
It depends on the tool and use case. Descript's voice cloning (trained on your own voice) sounds noticeably more natural than stock AI voices for most content. Stock AI voices have improved significantly in 2026, but they still have a recognizable quality that some viewers pick up on. For tutorials where trust matters, your own voice—even imperfect—tends to perform better.
Q: What's the best format to export tutorial videos for YouTube?
For standard YouTube: MP4, H.264 codec, 1920×1080 at 24–30fps, AAC audio. For Shorts: same codec, 1080×1920 (vertical), 9:16 aspect ratio. YouTube's official creator upload specifications have the full technical breakdown if you're running into quality issues on export.
Wrapping Up
Tutorial videos don't need to be hard to make. They need to be clear, well-structured, and audible. AI tools handle a lot of the friction—transcription, captioning, audio cleanup, voiceover fixes—but the content judgment is still yours.
If you're just starting: pick one topic, record a rough version, run it through Descript for audio and transcript editing, add Kapwing captions, export for your platform. That loop works. Once you've done it ten times, you'll know exactly where your personal bottlenecks are and which tools actually solve them.
Worth trying if you're spending more than 90 minutes on a tutorial that should take 20.
Previous Posts: