Photo to Video AI: Turn Images Into Clips (2026)
Hey everyone, Dora here. A client once gave me 30 product photos and asked for short ads by Friday. I said yes without a plan and spent three days doing everything manually. By the end, I knew I needed a better way.
In 2026, photo-to-video AI is finally practical for real deadlines, not just demos. This article explains how it works, which images perform best, and the workflow I use to turn a folder of photos into ready-to-publish clips.
If you already have your images prepared, you can create your first clip in under 20 minutes.
How Photo-to-Video AI Works
Image animation vs. Video generation from image
These are two different things and the distinction matters more than most tool comparisons let on.
Image animation takes your existing photo and generates motion directly from it — a slow camera drift, cloth movement, hair, water ripple. The output looks like your photo, just alive. The model predicts how pixels would plausibly move, constrained by the original image composition and depth.
Video generation from image uses your photo as a visual reference — a style anchor or a first-frame seed — and generates new video frames around it. The output may resemble your photo but isn't derived directly from it pixel by pixel. More creative flexibility, less fidelity to the original.
For product shots and portraits, animation is usually the better choice because you want the original image to move. For travel or more creative projects, generation gives you more flexibility.
Many people get confused here, expecting one but getting the other, which often leads to disappointing results.
What kinds of photos work best
Not all photos animate equally. After running a few hundred through various tools, here's what I've learned:
High performers:
Clean product shots on white or minimal backgrounds — less visual noise means cleaner motion
Portraits with clear subject separation from background
Landscape photos with distinct foreground/background layers — parallax motion is far more convincing when the model has depth to work with
Photos with natural motion cues: fabric, water, hair, fire, smoke
Frequent failures:
Group photos with multiple people — limb blending gets strange fast
Heavy text overlays baked into the image
Low-resolution images below 1024px on the short side — most current tools recommend at least 1024×1024px as a baseline, and Atlas Cloud's I2V model guide documents this as a consistent requirement across Kling 3.0, Seedance, and Wan 2.6
Heavily compressed images exported from social platforms — compression artifacts amplify when the model generates motion
For e-commerce specifically: shoot clean. If the image came off an iPhone on a countertop with mixed lighting, the animation model is going to have a rough time, no matter which tool you use.
Best Photo-to-Video Methods by Use Case
Product photos → short ads
This is where photo-to-video AI pays for itself fastest. Static product photo in, 3–6 second animated clip out, drop into your ad creative.
The motion you're going for is subtle — a slow zoom toward the product, a gentle parallax drift, maybe a soft light-play effect. You're not trying to create the impression of a full video shoot. You're trying to make the image feel alive long enough to stop a scroll.
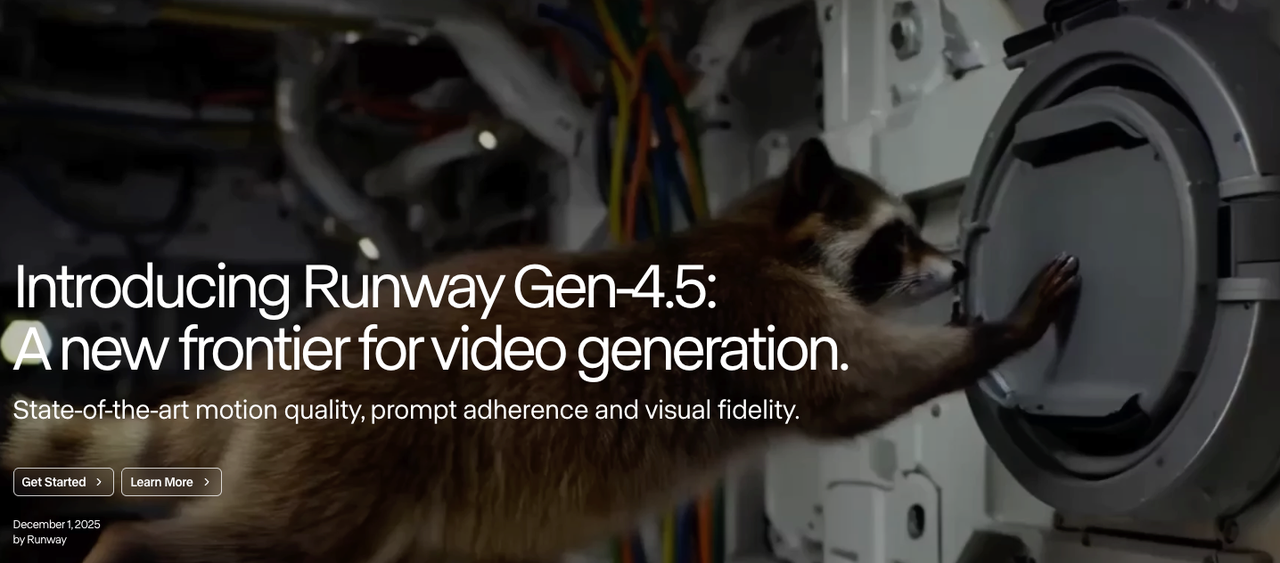
For realistic product animation, Kling 3.0 performs well with fine details like fabric, glass, and metal. Runway Gen-4.5 offers more creative control and fits smoothly into editing workflows. Both typically generate clips around 5 to 10 seconds.
No matter which tool you use, start with low motion intensity, as product videos usually look better with minimal movement.
Portrait photos → talking-head clips
This use case is not about artistic portrait animation. It is about making a still photo look like a short video clip for ads, testimonials, or missing B-roll.
Results are good when the portrait is well-lit and front-facing, with improved blinking and subtle facial movement in newer models. However, it still breaks down with larger head turns, where facial geometry can look unnatural.
It works best for short, secondary moments rather than main shots. A 2-second animated portrait is effective as a cutaway or intro, but not as a primary clip. Kling 3.0 currently delivers the most consistent and realistic results for this type of use.
Landscape/travel photos → recap reels
Photo-to-video AI works especially well for turning a batch of travel or location photos into a short recap video (about 30–60 seconds).
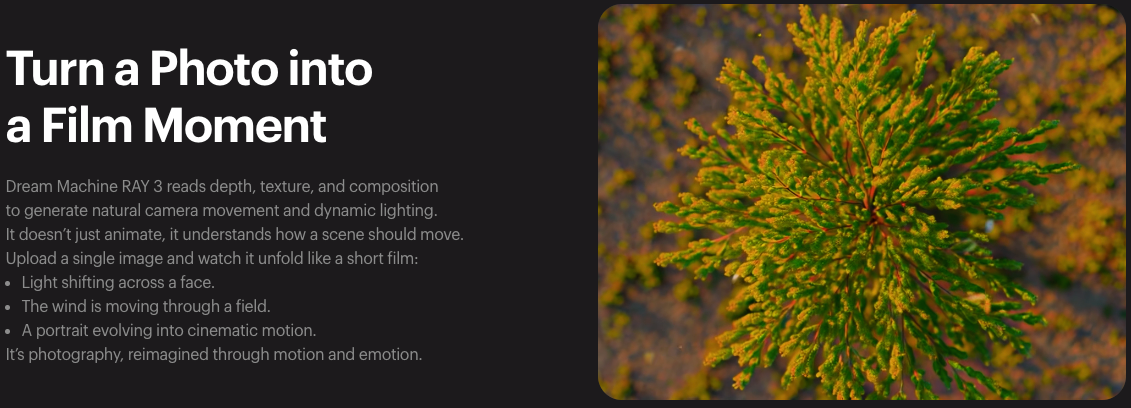
The key is parallax animation — adding depth-based motion so the foreground and background move at different speeds. Tools like Luma’s Ray3 (used in Dream Machine) can analyze depth and generate natural camera movement, instead of just stretching pixels.
For best results:
Export all clips at the same resolution and aspect ratio
Combine the generated clips later in your editor
Use photos with clear depth (not flat scenes like blank walls or empty skies)
Step-by-Step: Photo to Video Workflow
Preparing your photo
My actual workflow looks like this — before I touch any AI tool:
Check resolution. Most current I2V models work best from 1024px minimum on the short side; for product shots I target 1500px or above for clean output at 1080p export.
Check framing. If the subject is dead-center and edge-to-edge, crop in 10–15% on each side before animating. The model needs some negative space to generate motion into — otherwise the edges get forced and the animation looks clamped.
Remove baked-in text overlays if possible. If text is part of the original file, the animation will try to move it along with the image, which looks off. Kling 3.0 is currently the best at preserving readable text in source images if removal isn't an option — labels and signage stay legible where other models blur them.
Export clean PNG or high-quality JPEG. Don't work from a compressed social media export. The compression artifacts amplify when the model generates temporal motion between frames.
This prep step takes 2–3 minutes per image. Skipping it adds 10–15 minutes of cleanup on the back end.
Generating the video
Upload your image to the tool, start with a low motion setting, choose the correct format (9:16 for TikTok and Reels, 16:9 for YouTube, and 1:1 for feed posts), and then generate the video.
The first result is usually not the final version, so it is best to create two or three variations with different motion settings and select the cleanest one.
Most tools produce clips that are about 5 to 10 seconds long, and shorter clips tend to have more consistent quality.
Generation time can range from about 20 seconds to a few minutes, depending on the tool, the video length, and system load, so it is important to plan accordingly when working in batches.
Editing: captions, music, format
The animated clip on its own is usually not a finished video — it's a component. You still need captions if voiceover is involved, background music or sound design, text overlay for product shots (price, CTA, product name), and platform-specific formatting.
For high-frequency workflows where you're building multiple clips from a product catalog or a batch of location photos, this assembly step is where time goes if you don't have a repeatable process. Set up a standard folder structure — raw photo → animated clip → edited final — before you start a batch run. It sounds obvious until you're on clip 18 and can't find the first export.
Quality Tips and Common Issues
Avoiding distortion and artifacts
The two most common failure modes:
Edge distortion — the model generates implausible geometry at the edges of the frame, particularly around hair, hands, and the boundary between subject and background. Fix: crop the animated clip by 5–8% to cut edge artifacts, or build more margin into your original photo prep.
Face morphing — in portrait animations, facial features drift subtly between frames in ways that look uncanny up close, particularly past the 3-second mark. Fix: use shorter clip duration (2–3 seconds instead of 5–10), which gives the model fewer frames to drift in. Or use the clip as a freeze-frame with a single motion beat rather than continuous animation.
Getting smooth motion
Jerky or stuttering motion almost always comes from one of two things: motion intensity set too high, or the source image doesn't have enough spatial depth for the model to build convincing parallax from.
For smooth landscape parallax, look for images with a distinct foreground element — a tree, a person, a building — against a mid-ground and background. The model needs distinct depth layers to work with. Flat compositions produce flat, unconvincing motion regardless of settings.
This is where temporal consistency — the technical term for how well a model maintains smooth, coherent motion between frames — becomes the limiting factor. It's one of the hardest problems in AI video generation. Runway's Gen-4.5 research page documents how their approach to temporal consistency has improved in their latest model, and understanding what these systems are actually optimizing for helps calibrate realistic expectations: some source images will produce smoother output than others regardless of settings, and that's a model constraint, not user error.
The Bottom Line
Photo-to-video AI isn't a replacement for actual video production. If the campaign matters and you have the budget, shoot real footage. But for high-frequency short-form — product catalogs, ad variants, social recap content — it closes a real gap.
That folder of 30 product photos that cost me three days manually? I've run similar briefs recently using a proper prep-and-batch workflow. First drafts are done in under an hour. Not magic. Just fewer steps between the photo and the published clip.
FAQ
Q: What photo resolution works best for AI video? At least 1024px on the short side is required. The sweet spot is 1500–2000px for clean 1080p output. Going above 4K usually just slows processing without improving quality.
Q: Can you turn multiple photos into one video? Yes, but not in one step. First generate clips from each photo, then combine them in an editor like CapCut, Premiere, or DaVinci.
Q: Is photo-to-video AI free? Some tools offer free tiers, but with limits (credits, watermarks, or lower quality). For regular use, expect to pay around $15–50/month.
Previous Posts: