Seedance 2.0 Multi-Scene Storyboard Workflow
How to plan, generate, and assemble multi-shot AI video that actually holds together across scenes.

Most AI video workflows break at the same point: the second shot.
One clip looks great in isolation. But the moment you try to build a sequence — a scene with multiple angles, a product story across several shots, a narrative with actual continuity — the cracks show up fast. Different lighting. Different color palette. The same "character" looking like three different people.
This isn't a model limitation. It's a workflow limitation.
A proper Seedance 2.0 storyboard approach solves this before you generate a single frame. Plan the sequence first. Lock the variables. Generate with discipline. Then assemble with intention.
This guide is the systematic approach to multi-scene AI video that most creators skip — and why their outputs look like a collection of demos instead of finished content.
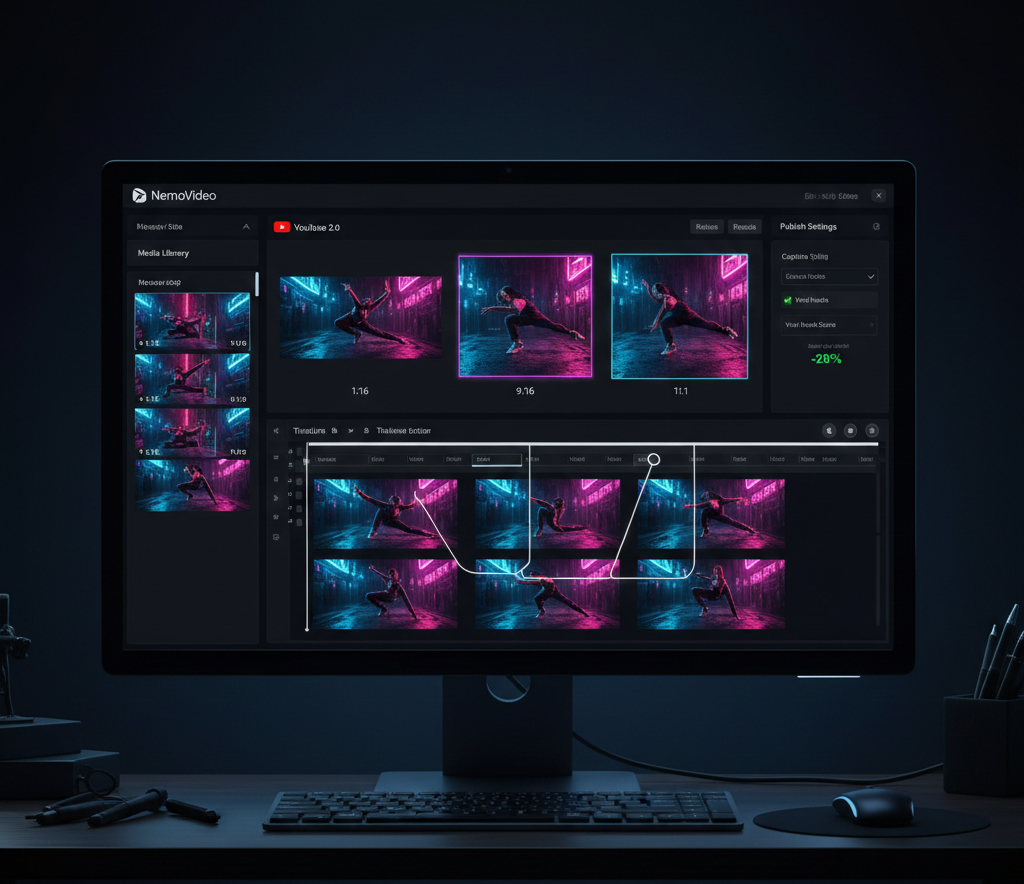
Want to skip setup friction? NemoVideo's workspace integrates Seedance 2.0 with a production-ready assembly environment — free access available now.
Why Single-Shot Thinking Limits AI Video
The single-shot trap is how most people start with AI video generation, and it's understandable. You write a prompt, get a stunning clip, feel good about the result. Then you write another prompt for the next beat — and it comes back looking like it was shot on a different planet.
Single-shot thinking treats each generation as an independent event. No shared context. No anchored variables. No continuity logic.
The result is a collection of visually unrelated clips that can't be edited into a coherent video without significant remediation.
Multi-scene storyboarding flips this. You define the visual world once, then generate every shot within those established constraints. The model isn't reinventing the scene from scratch each time — it's executing within a framework you've already set.
This is how traditional film production works. Directors of photography establish a "look" for the entire project. Every shot is lit, colored, and framed within that look. AI video generation needs the same upstream discipline.
If you're new to Seedance 2.0's capabilities, the complete Seedance 2.0 guide is the right foundation before going deeper on storyboard technique.
Plan Shots Before You Prompt
The rule: Never open a generation interface until you have a written shot list.
This sounds obvious. Almost nobody does it.
A shot list is the written equivalent of the storyboard — each row describes one clip you intend to generate. Before you've typed a single prompt, you know exactly how many shots you need, what each one contains, and how they connect.
Without this, you're making decisions inside the generation interface — which is the most expensive, time-consuming, and inconsistent place to make creative decisions.
Shot List Template (Scene → Action → Camera)
Use this structure for every shot in your sequence:
Shot # | Scene Context | Subject Action | Camera Position | Duration | Notes |
01 | Outdoor café, morning | Person sits, opens laptop | Medium wide, eye level | 4s | Establishing |
02 | Same café | Hands type on keyboard | Extreme close-up, top-down | 3s | Insert shot |
03 | Same café | Person reacts, smiles | Medium close-up, slight angle | 3s | Reaction beat |
04 | Same café | Wide pull-back, café fills with people | Wide, slow push-in | 5s | Environment expand |
Three columns carry the most weight: scene context, subject action, and camera position. Together they define what the generation model needs to know — where we are, what's happening, and how we're watching it.
The "notes" column is where you flag continuity anchors — anything that must match the previous or next shot.
Continuity Variables to Lock (Lighting, Wardrobe, Palette)
Before generating any shot, define these variables once and write them into every prompt:
Lighting: Time of day, direction, quality (soft/hard), color temperature. Example: "morning golden hour, soft directional light from left, warm 5500K"
Color palette: 2–3 dominant colors plus overall grade direction. Example: "muted earth tones — terracotta, sand, deep green — slightly desaturated grade"
Subject appearance: If a person appears across shots, define hair, clothing, skin tone, and any distinguishing features in one reference block you paste into every relevant prompt.
Camera style: Handheld vs. stabilized. Lens character (wide, standard, telephoto). Motion behavior (static, slow push, tracking).
Environment constants: Background elements that must remain consistent — furniture position, signage, time of day.
Lock these variables in a text document before you start generating. This is your scene bible. Every prompt you write pulls from it.
For reference-based motion control that helps maintain stylistic consistency across shots, see Seedance 2.0 reference video and motion.
Generate Each Shot with Anchored Prompts
With a shot list and scene bible in place, generation becomes systematic rather than experimental.
An anchored prompt is structured in layers:
Scene anchor — pulls directly from your continuity variables (lighting, palette, environment)
Shot-specific action — what is happening in this particular clip
Camera instruction — position, movement, lens behavior
Style/mood qualifier — any additional aesthetic direction
Example anchored prompt for Shot 01 from the template above:
Morning golden hour, soft directional light from left, warm color temperature. Muted earth tones — terracotta, sand, deep green — slightly desaturated grade. Outdoor European café, wrought-iron chairs, blurred background pedestrians. Woman in rust-colored linen shirt sits down at café table, opens MacBook. Medium wide shot, camera at eye level, static. Cinematic, 24fps feel.
Every word in the scene anchor comes from the scene bible. The shot-specific action and camera instruction come from the shot list. This structure is repeatable across every shot in the sequence.
Reusing Prompt Blocks Across Shots
The scene anchor block is identical (or near-identical) for every shot in the same scene. Don't retype it. Keep it in a clipboard manager or text snippet tool and paste it as the foundation of each prompt, then add the shot-specific layer on top.
This consistency is what creates visual coherence across generated clips. The model processes the same environmental context repeatedly — and while it won't be deterministic, it will produce outputs that share more visual DNA than independent prompts would.
For short-form content where you need this process to move fast, the Seedance 2.0 short video workflow has a compressed version of this approach built for rapid production.

Assembly and Pacing in Post-Production
Generated clips are raw material. Assembly is where the sequence becomes a video.
The assembly principle: Cut on action or motivation, not on generation order.
Just because you generated Shot 02 after Shot 01 doesn't mean it cuts well after Shot 01. Review every clip independently first. Grade on usability: does this clip actually serve its intended role in the sequence?
Discard anything that breaks continuity — even if it's technically impressive. A stunning clip that looks like a different film destroys the edit.
Cut Points That Feel Natural
AI-generated clips have a specific pacing challenge: they often don't contain natural cut points at their head or tail. The generation starts and ends mid-motion, which can make cuts feel jarring.
Strategies for cleaner cuts:
Cut on movement initiation. The moment a subject begins a gesture or movement is a natural visual beat. Cut in as the movement starts, cut out as it completes.
Use insert shots as buffers. Close-up detail shots (hands, objects, environment) are editing safety nets. They absorb timing inconsistencies between wider shots and let you land cuts more cleanly.
Let motion carry across cuts. If Shot 01 ends with a subject's head beginning to turn right, begin Shot 02 with the head completing that turn. The eye follows the motion across the cut without noticing the edit.
Overlap audio, not picture. If your sequence has narration, music, or ambient audio, let the audio breathe across cuts. Hard audio cuts at the same frame as picture cuts double the perceptual discontinuity.
For TikTok and Reels specifically, the cut logic shifts — faster rhythm, earlier hooks. The Seedance 2.0 vertical video workflow covers platform-specific pacing for short-form assembly.
Common Storyboard Mistakes (and How to Recover)
Mistake 1: Changing the scene bible mid-sequence
You start generating, then decide a warmer palette would look better. You update one prompt. Now shots 4–8 look different from shots 1–3.
Recovery: Complete the sequence in two visual "chapters" and use a cut point that justifies the shift — a scene change, time jump, or location transition. Alternatively, regenerate the earlier shots with the updated scene bible. Faster than you think if your prompt structure is already built.
Mistake 2: Over-describing the shot
Prompts that run over 150 words start fighting themselves. The model has too many competing instructions and averages them out rather than executing any one clearly.
Recovery: Trim to the essential. Scene context + one clear action + camera instruction. Test the trimmed prompt before adding qualifiers back in.
Mistake 3: No insert shots in the plan
A shot list with only wide and medium shots has no editing cushion. When two consecutive wide shots don't cut cleanly, you're stuck.
Recovery: Go back to generation and add close-up insert shots for any transition that isn't working. Insert shots are fast to generate — they have minimal character content and simple prompt requirements.
Mistake 4: Generating all shots before reviewing any
Batch-generating an entire sequence before reviewing a single clip means discovering problems when it's expensive to fix them.
Recovery (prevention): Generate shots 1–3, assemble a rough test edit, confirm continuity is holding, then generate the rest. Catch problems in the first act, not the last.
For issues specific to Seedance 2.0's generation behavior, the Seedance 2.0 troubleshooting guide covers the most common output problems and how to address them.
Repurpose Multi-Scene Clips with NemoVideo
Generating a multi-scene sequence is the hard part. Repurposing it efficiently is where most creators leave value on the table.
A five-shot product sequence, properly storyboarded, can become:
A 30-second hero video for a landing page
Three individual 10-second clips for paid social
A vertical cut optimized for TikTok and Reels
A looping GIF or cinemagraph from a single insert shot
B-roll for a longer talking-head video
None of this requires regenerating anything. It requires an assembly layer that understands how to cut and adapt footage for platform context.
NemoVideo's workspace is where this repurposing workflow lives. Upload your generated clips, and NemoVideo handles the platform-specific optimization — vertical reformatting, caption styling, hook testing, and distribution-ready packaging.
The Smart Pick (AI Rough Cut) tool automatically identifies the strongest moments across your generated clips and assembles a rough cut in minutes — eliminating the manual review grind when you're working with 8–12 generated shots.
Smart Caption handles subtitle styling in platform-native formats, so your assembled sequence doesn't need a separate captioning pass before publishing.
And if you want to know whether your assembled sequence will actually perform — Viral+ Studio reverse-engineers high-performing content structures and tells you if your pacing and hook timing match what's actually working on platform.
NemoVideo is the official integration partner for Seedance 2.0. You don't need a separate account, API key, or credits system to access Seedance 2.0 generation — it's built directly into the workflow.
Access Seedance 2.0 free inside NemoVideo →
Explore the full Seedance 2.0 context: What is Seedance 2.0 | How to use Seedance 2.0 | Seedance 2.0 overview
FAQ — Seedance 2.0 Storyboard Workflow
Q: How many shots should a Seedance 2.0 storyboard sequence have?
A: For short-form social content (TikTok, Reels), 3–6 shots is the practical range — enough to create visual variety without losing coherence. For product videos or brand content, 6–12 shots allows for proper establishing, detail, and closing beats. Beyond 12 shots, continuity management becomes significantly more demanding without a dedicated production layer.
Q: Can I use a reference image to maintain visual consistency across shots in Seedance 2.0?
A: Yes. Reference image input is one of the most effective continuity tools available. Providing a strong reference frame — either from a previous generation or a real image — anchors the model's interpretation of environment, lighting, and subject appearance. See the full technique in the Seedance 2.0 reference video and motion guide.
Q: What's the best way to handle transitions between Seedance 2.0-generated shots?
A: Cut on action or motion initiation. Use insert shots (close-ups of objects, hands, environmental details) as transition buffers between wider shots. Avoid hard cuts between two static shots with no bridging movement — these feel abrupt and are the most common edit failure in AI video sequences.
Q: How is Seedance 2.0 storyboarding different from traditional video storyboarding?
A: The underlying logic is the same — define shots before production, lock continuity variables, sequence with intention. The key difference is that AI generation doesn't guarantee consistency between prompts, so the scene bible approach becomes more important, not less. Traditional film has human crew who share context; AI generation needs that context written explicitly into every prompt. Read more: Seedance 2.0 vs traditional editing.
Q: Can NemoVideo help with the storyboard planning stage, not just assembly?
A: Yes. The Inspiration Center generates data-backed hooks and shot concepts before you enter production — eliminating blank-page friction at the planning stage. The workspace then carries that structure into generation and assembly.
Q: Is Seedance 2.0 suitable for long-form multi-scene projects, or just short clips?
A: Seedance 2.0 is optimized for shorter individual clips, but storyboarded sequences can reach significant total length when assembled properly. The model generates individual shots (typically 3–8 seconds each) that are combined in post. For longer narrative projects, the hybrid workflow — using Seedance 2.0 for environmental/B-roll shots alongside other generation methods for character-heavy scenes — is covered in the Seedance 2.0 complete guide.
The Storyboard Workflow Is the Competitive Advantage
Most creators using AI video generation are still in single-shot mode. They generate impressive-looking clips that don't assemble into anything coherent, and they blame the model.
The Seedance 2.0 storyboard approach described here isn't complicated. Shot list. Scene bible. Anchored prompts. Systematic generation. Disciplined assembly.
This is the framework that separates finished AI video content from demo reels. It's what professional production has always done — the tools are just faster now.
Start with a shot list before your next project. Lock the continuity variables before you generate the first frame. You'll notice the difference in the edit immediately.
Build your first multi-scene sequence in NemoVideo →
Further reading: Seedance 2.0 FAQ | How to use Seedance 2.0 | Seedance 2.0 image-to-video workflow
NemoVideo now integrates with Seedance 2.0, giving users free access directly through the NemoVideo workspace.